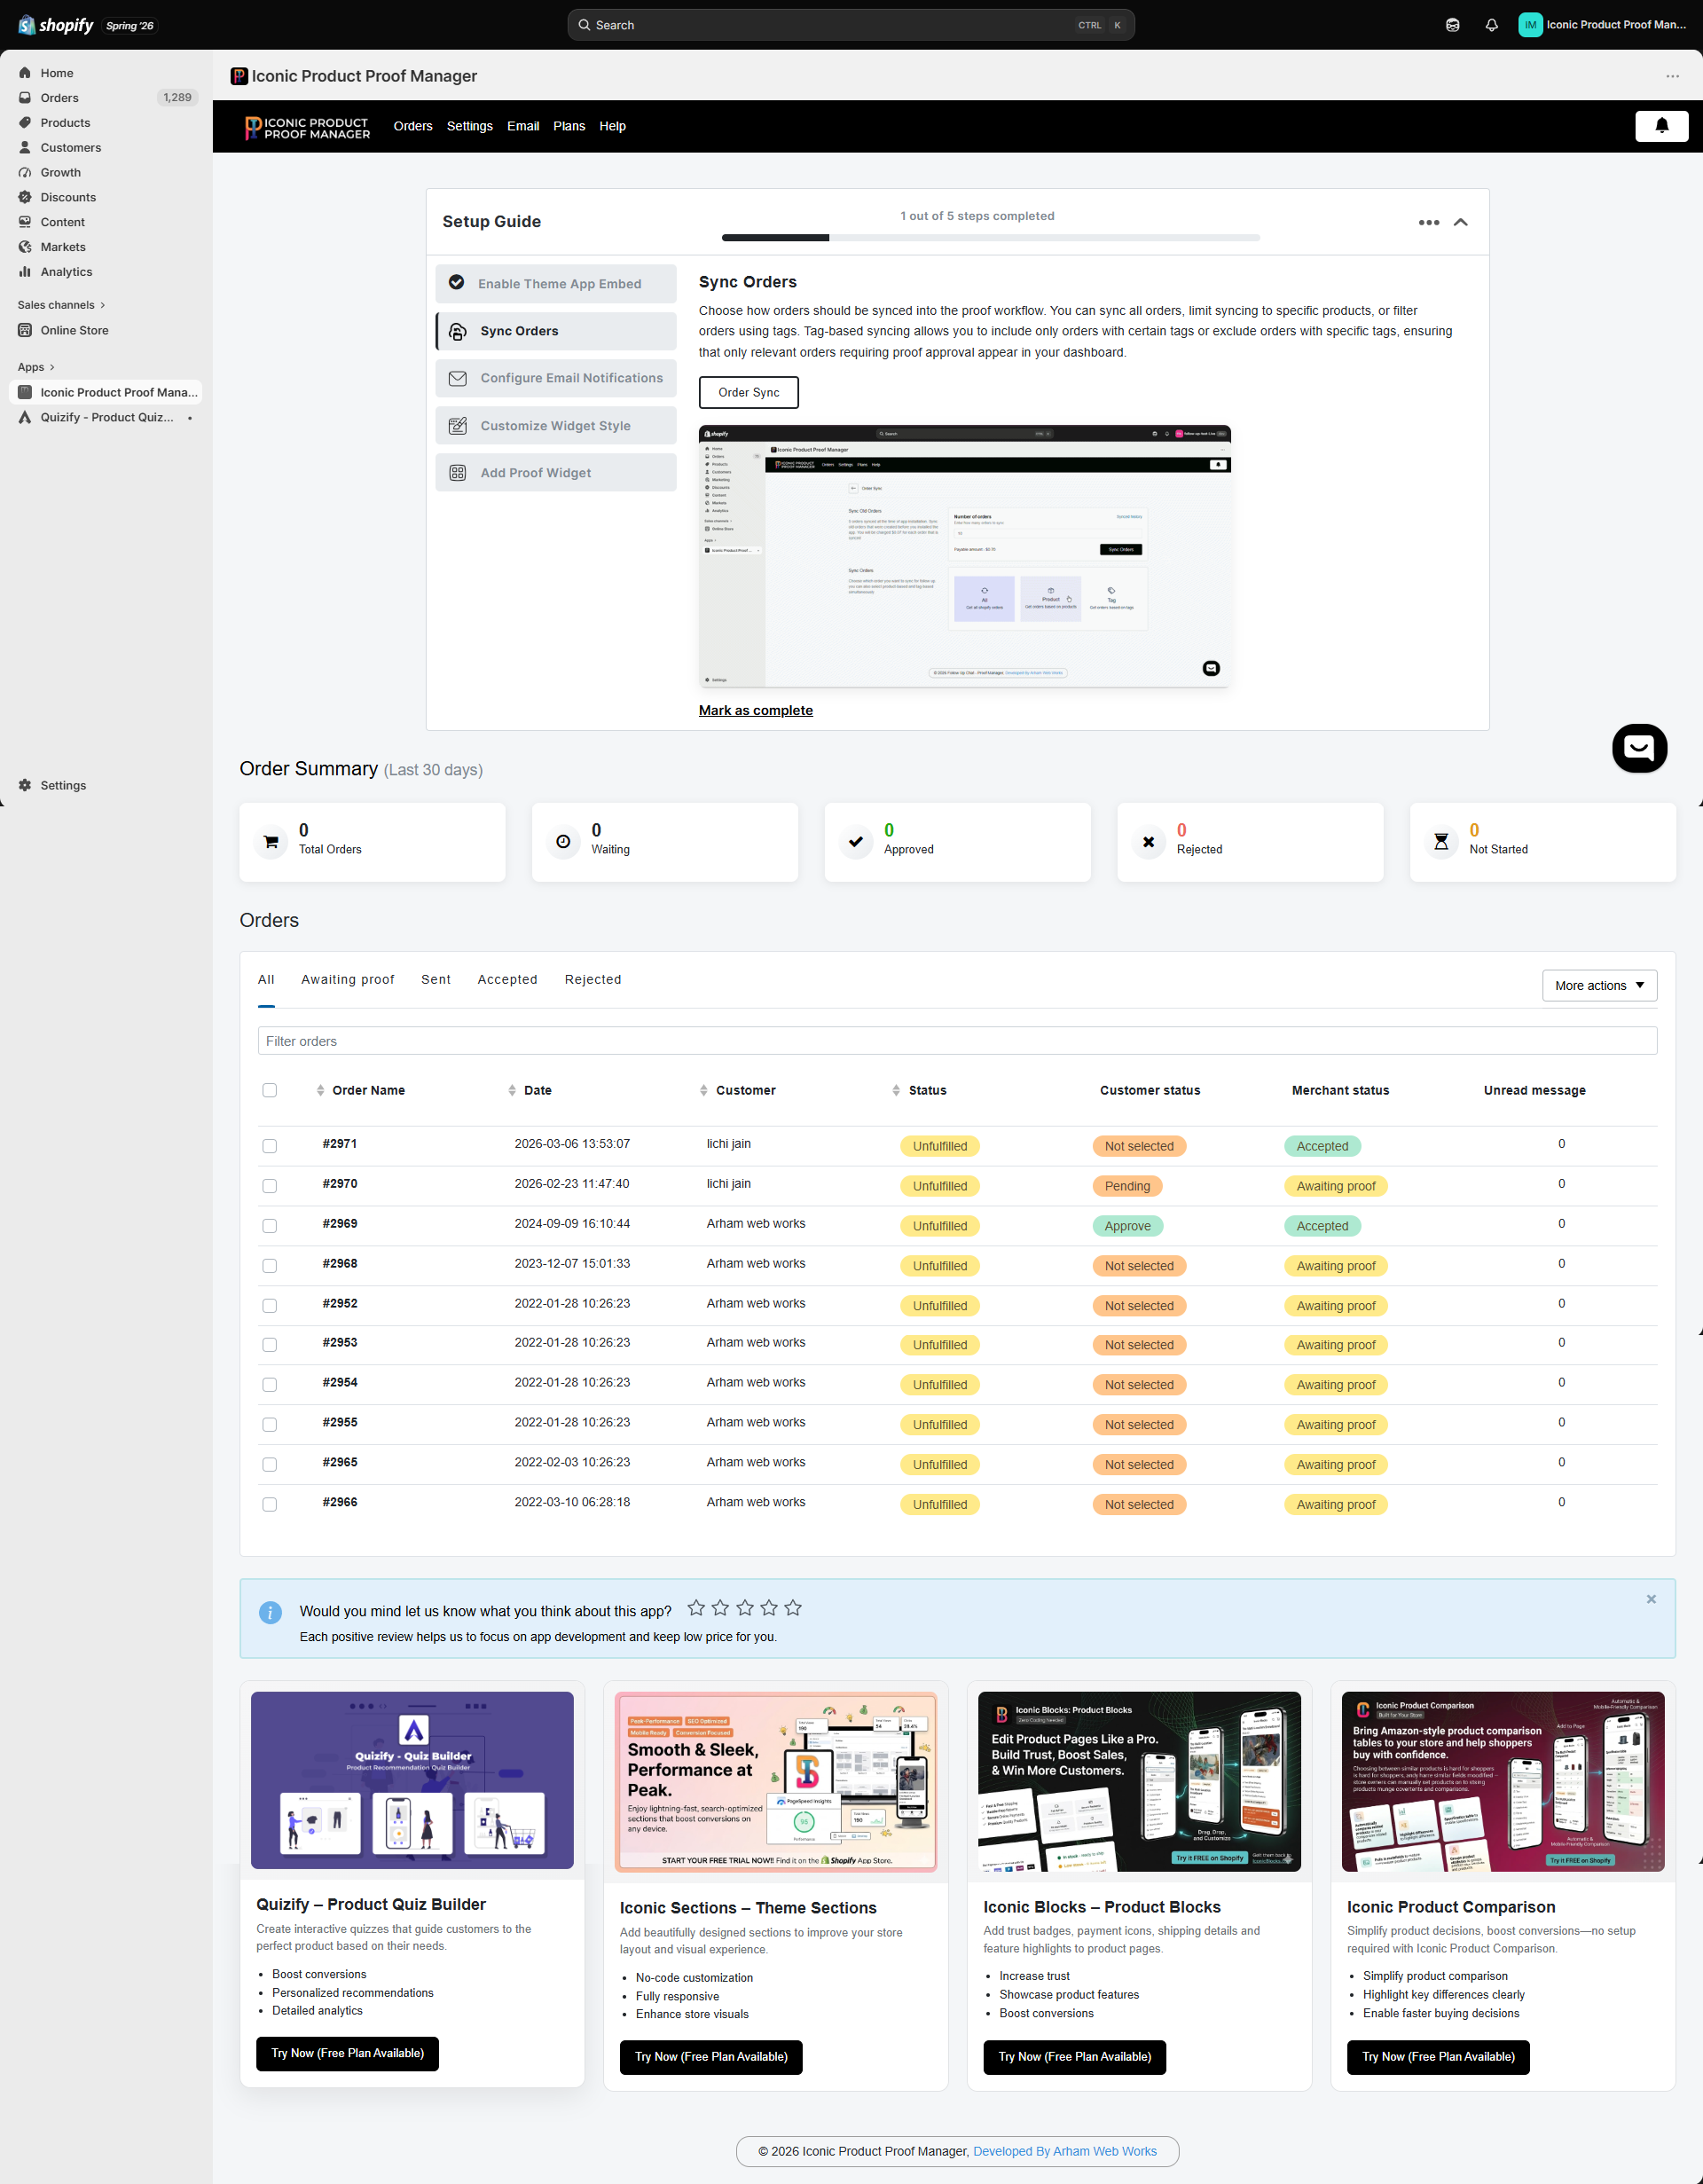
Every new install shows a Setup Guide card at the top of the Orders dashboard, tracking how many of the 5 steps you’ve completed.
You don’t have to complete these in order, and you can dismiss the card at any time — it reappears from Settings if you want to revisit it. Each step has a Mark as complete link once you’ve finished it.
Step 1 — Enable Theme App Embed
Turns on the floating chat widget across your storefront via Shopify’s Theme App Embed. Without this enabled, customers have no way to open the chat widget. See Adding the Widget to Your Theme.
Step 2 — Sync Orders
Choose how orders flow into your dashboard: every order, only orders containing specific products, or only orders with specific tags (you can combine product and tag rules). This determines which orders get a chat thread and appear in your Orders list. See Order Sync.
Turn on the email notifications you want sent automatically — to customers when their order is synced, when you send a message or change their status, and to you when a customer replies or updates their approval. See Email Notification Settings.
Set the heading/body fonts and the color scheme (chat colors, button colors, system message color) so the widget matches your store’s branding. See Design Settings.
The Theme App Embed adds a global floating chat bubble. If you’d rather show the full widget inline on a specific page — for example your order status or customer account order page — add the Product Proof Manager app block to that template from the theme editor. See Adding the Widget to Your Theme.