> ## Documentation Index
> Fetch the complete documentation index at: https://proof-manager-docs.geticonicapps.com/llms.txt
> Use this file to discover all available pages before exploring further.
# Custom SMTP
> Send notification emails from your own email address
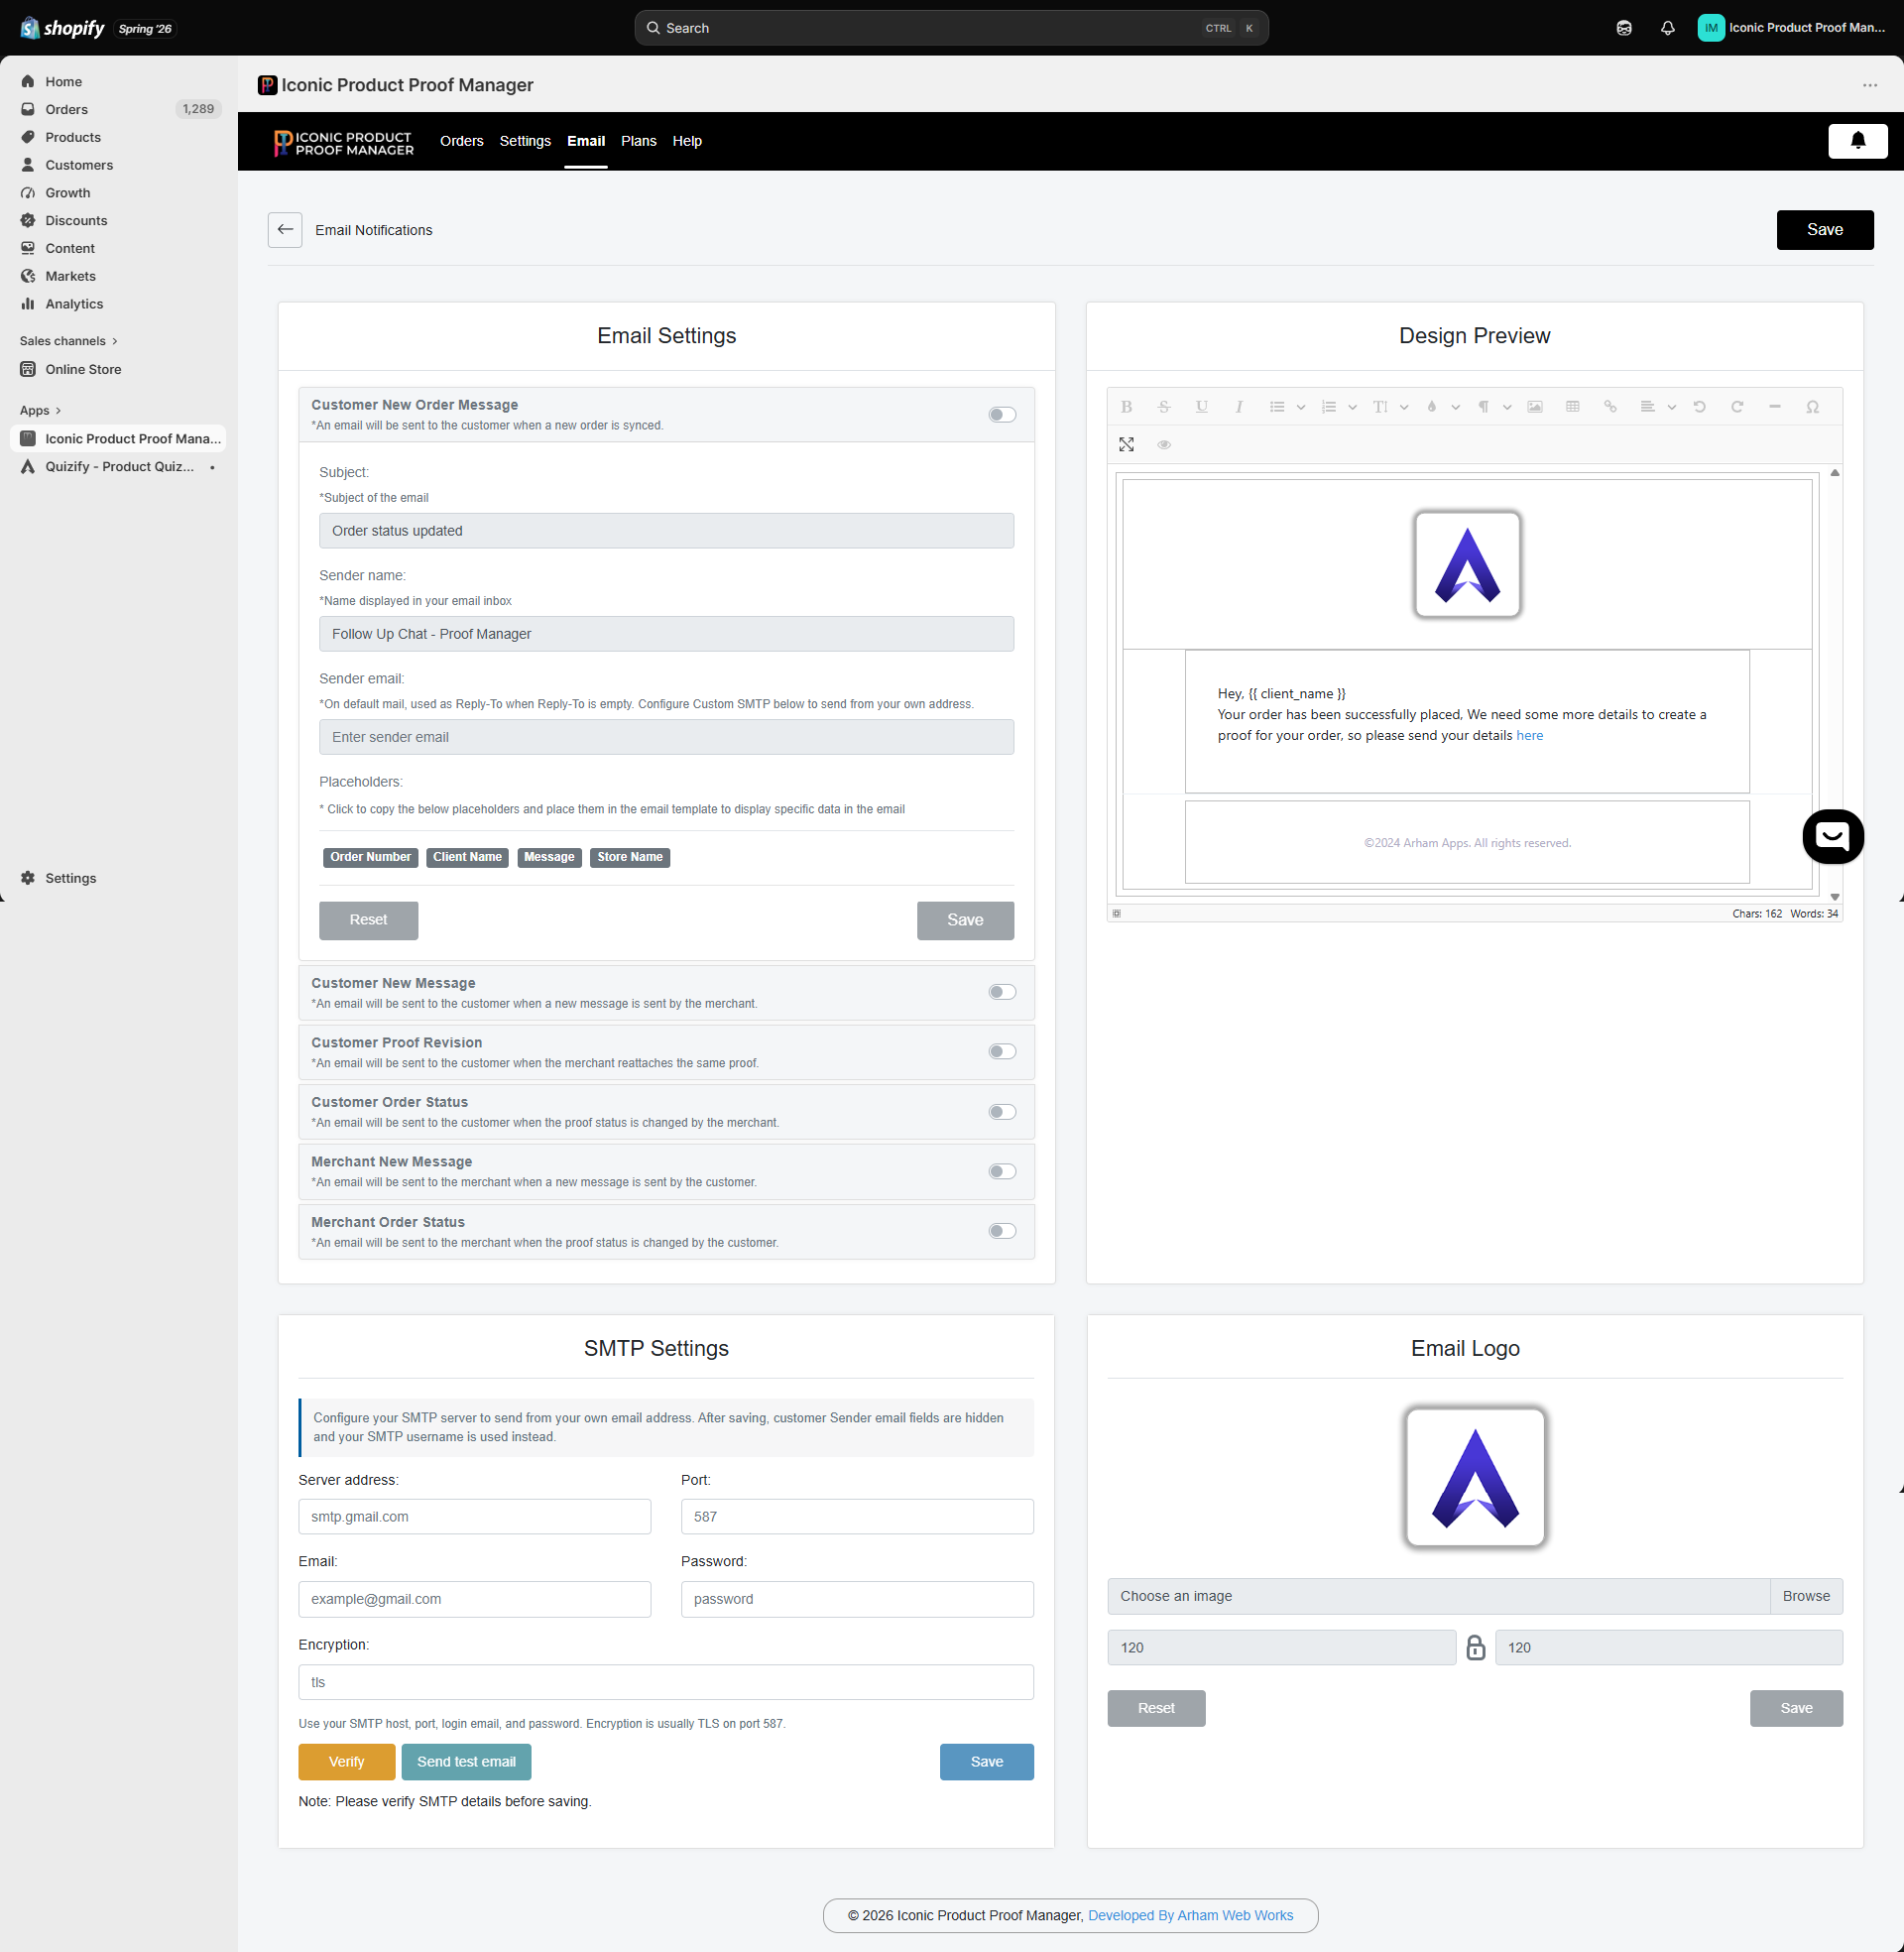
By default, notification emails are sent from the app's shared mail service, using your **Sender email** as the Reply-To address. If you'd rather send from your own domain or mailbox, configure **Custom SMTP** in **Email → SMTP Settings**.
 Custom SMTP is available on the **Basic Plan** and above. See [Plans & Pricing](/billing/01-plans-and-pricing).
## Fields
| Field | Example | Notes |
| -------------- | ------------------- | ---------------------------------------------------------------------------------- |
| Server address | `smtp.gmail.com` | Your mail provider's SMTP host |
| Port | `587` | `587` for TLS, `465` for SSL |
| Email | `example@gmail.com` | The mailbox you're authenticating as |
| Password | — | For providers like Gmail, use an **app password**, not your regular login password |
| Encryption | `tls` | Usually `tls` on port 587, or `ssl` on port 465 |
## Setting it up
Fill in server address, port, email, password, and encryption.
Click **Verify** to test the connection before saving. This confirms the app can authenticate with your mail server without sending anything yet.
Click **Send test email** to deliver a sample message and confirm end-to-end delivery.
Once verified, click **Save**. From now on, all notification emails send through your SMTP server instead of the app's default mail, and your **Sender email** fields are replaced by your SMTP username.
Always verify before saving — incorrect SMTP credentials will silently stop notification emails from sending until fixed.
Custom SMTP is available on the **Basic Plan** and above. See [Plans & Pricing](/billing/01-plans-and-pricing).
## Fields
| Field | Example | Notes |
| -------------- | ------------------- | ---------------------------------------------------------------------------------- |
| Server address | `smtp.gmail.com` | Your mail provider's SMTP host |
| Port | `587` | `587` for TLS, `465` for SSL |
| Email | `example@gmail.com` | The mailbox you're authenticating as |
| Password | — | For providers like Gmail, use an **app password**, not your regular login password |
| Encryption | `tls` | Usually `tls` on port 587, or `ssl` on port 465 |
## Setting it up
Fill in server address, port, email, password, and encryption.
Click **Verify** to test the connection before saving. This confirms the app can authenticate with your mail server without sending anything yet.
Click **Send test email** to deliver a sample message and confirm end-to-end delivery.
Once verified, click **Save**. From now on, all notification emails send through your SMTP server instead of the app's default mail, and your **Sender email** fields are replaced by your SMTP username.
Always verify before saving — incorrect SMTP credentials will silently stop notification emails from sending until fixed.